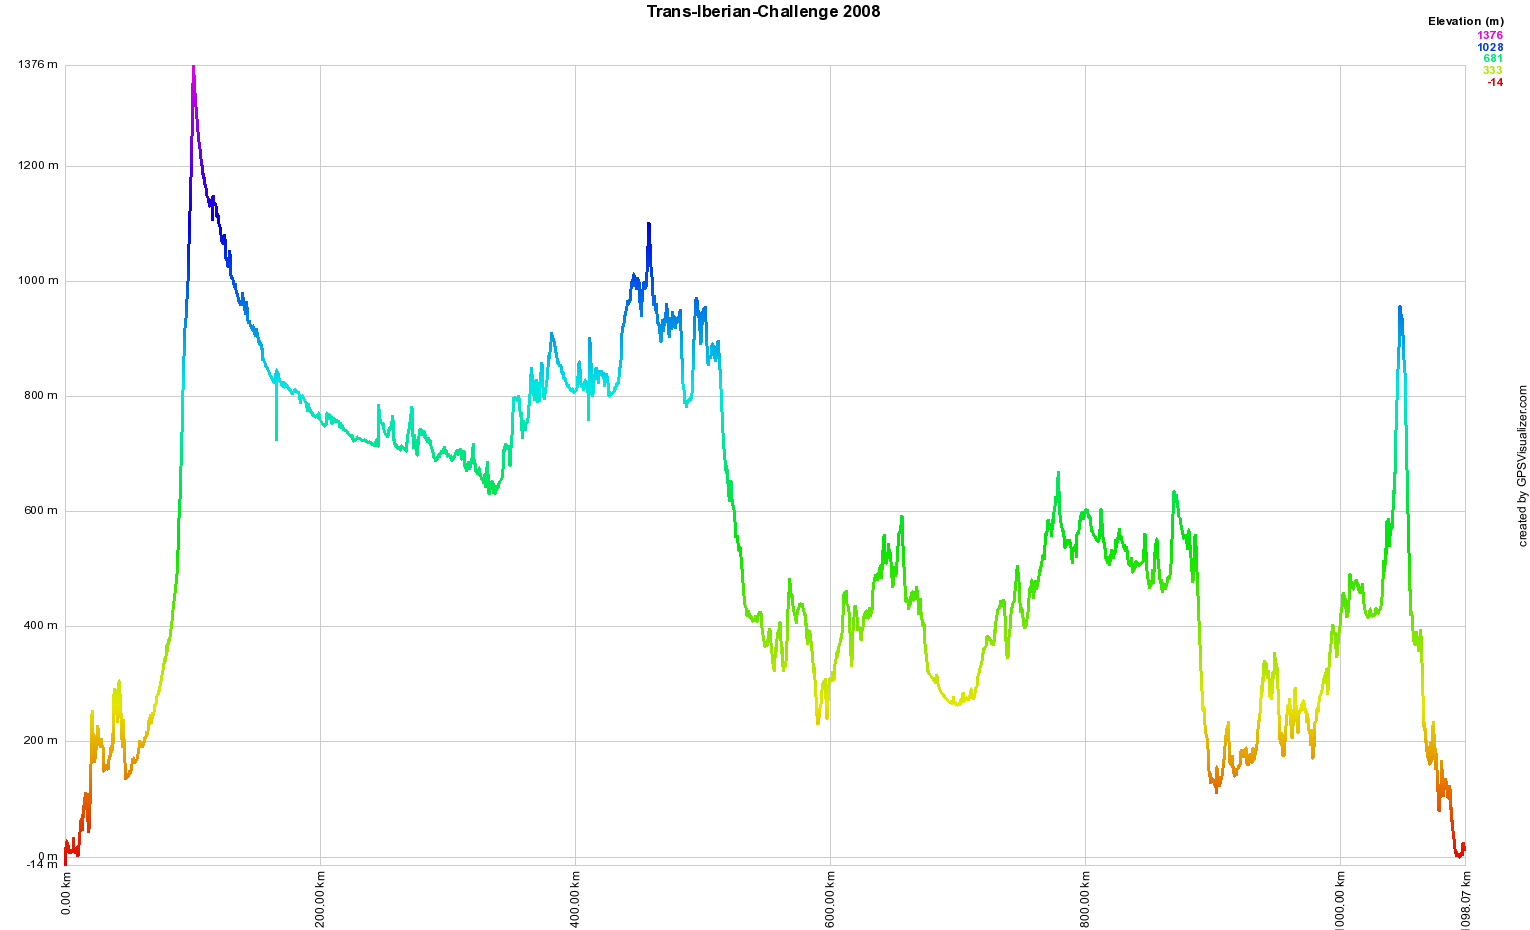
The Trans-Iberian Challenge 2008
| Length | Starts in | Ends in |
| 1102Km (684 miles) | Gijón, Spain | Málaga, Spain |
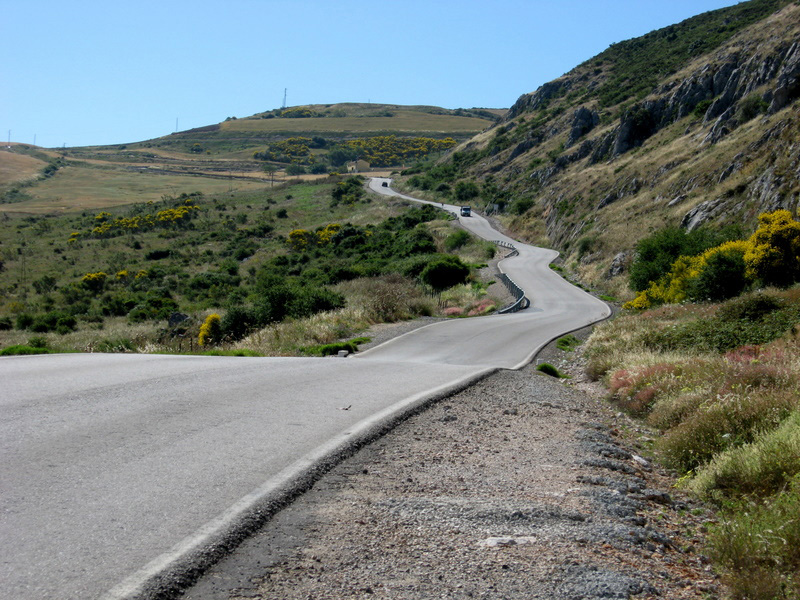
This is a cycling touring trip I did with my girlfriend in June 2008. In 15 days (13 cycling) we crossed Spain North to South, starting at the Atlantic coast and reaching the Mediterranean sea. By far the best cycling trip I've made. Click here for a full screen version of the map.
As this was our first big trip, we didn't do any camping; we opted instead for cheap accommodation along our route. You can find a list of hostels we liked at the end of this page. We carried all our luggage in two pairs of rear panniers.
During the trip we set up a blog to post our progress and some pictures.
Trip details
This route took us 15 days to complete, 13 cycling and 2 rest days. The first day however we cycled only 30 km as we couldn't rest properly the day before due to airline schedules.
Here you can find our day by day itinerary, along with GPS routes and tracks. GPS routes are the routes we planned beforehand for our trip. GPS tracks are the path we actually took during the trip. As we didn't deviate from the planned route, both of them describe roughly the same path. The only difference is that GPS route files are more useful for planning your own trip and GPS tracks contain other information such as speed, altitude, etc...
-
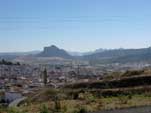
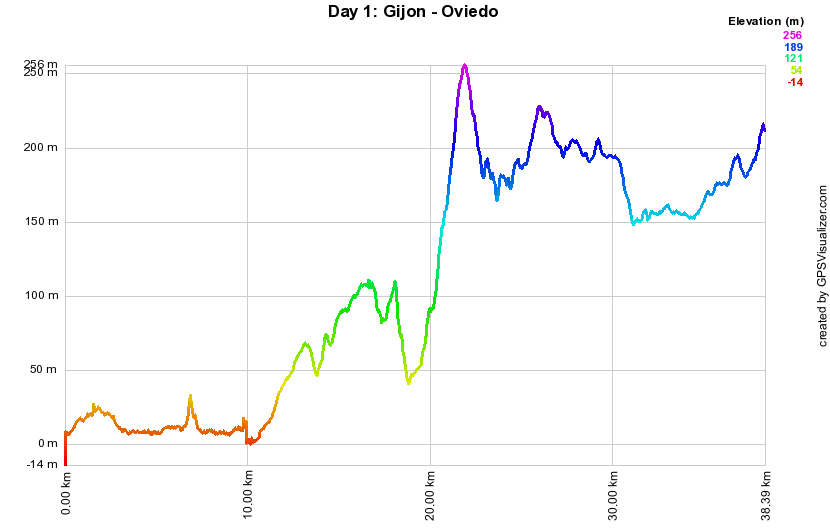
Day 1: Gijón - Oviedo. 38.4Km. A short route from coastal Gijon to Oviedo. We planned
a short route because we knew that we wouldn't get much sleep the day before (plane to Gijon from
Madrid left at 6am).
GPS route GPS track -
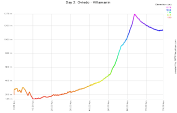
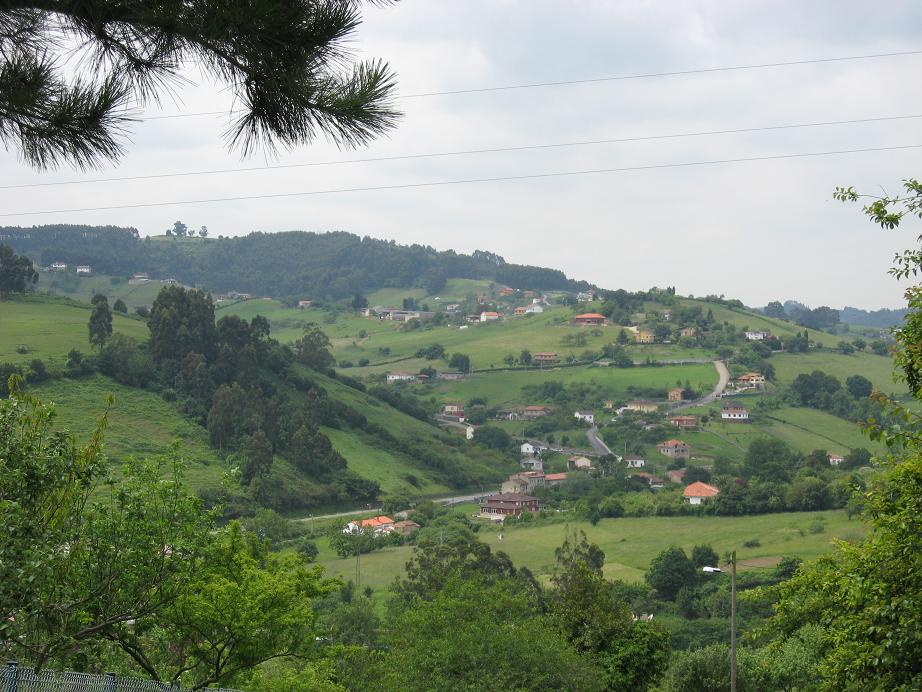
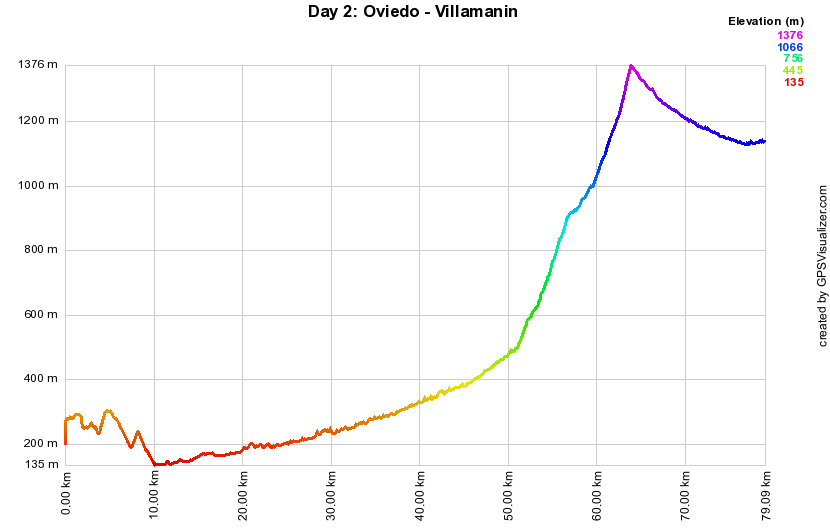
Day 2: Oviedo - Villamanin. 79.1Km. A very rough day! The central spanish plateaux ends
on its northern part in a mountain range called the
Cantabrian Mountains. In order
to get to the plateaux there is no other way than climbing those mountains! Villamanin is a
small village high in the mountains.

GPS route GPS track -
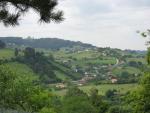
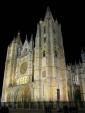
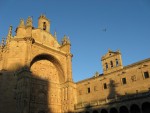
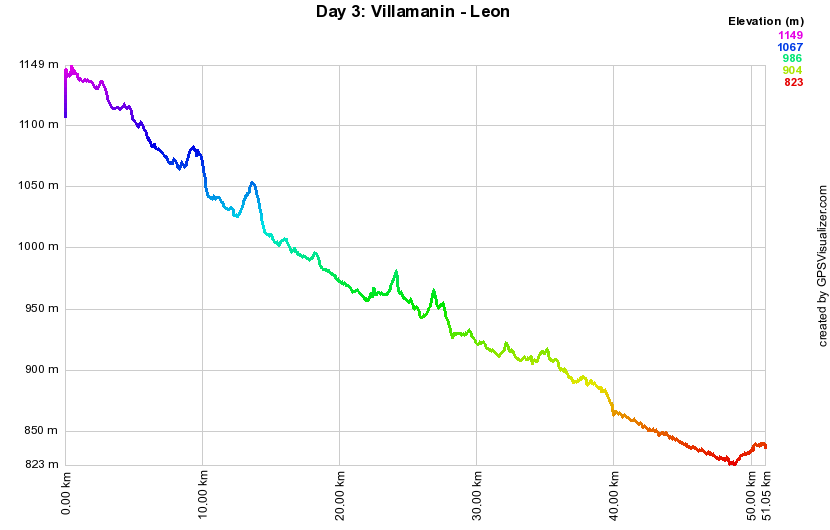
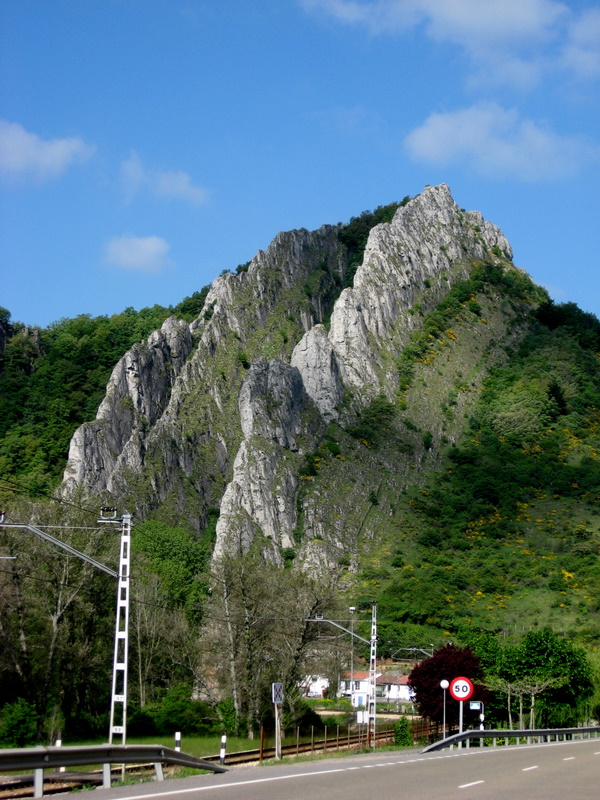
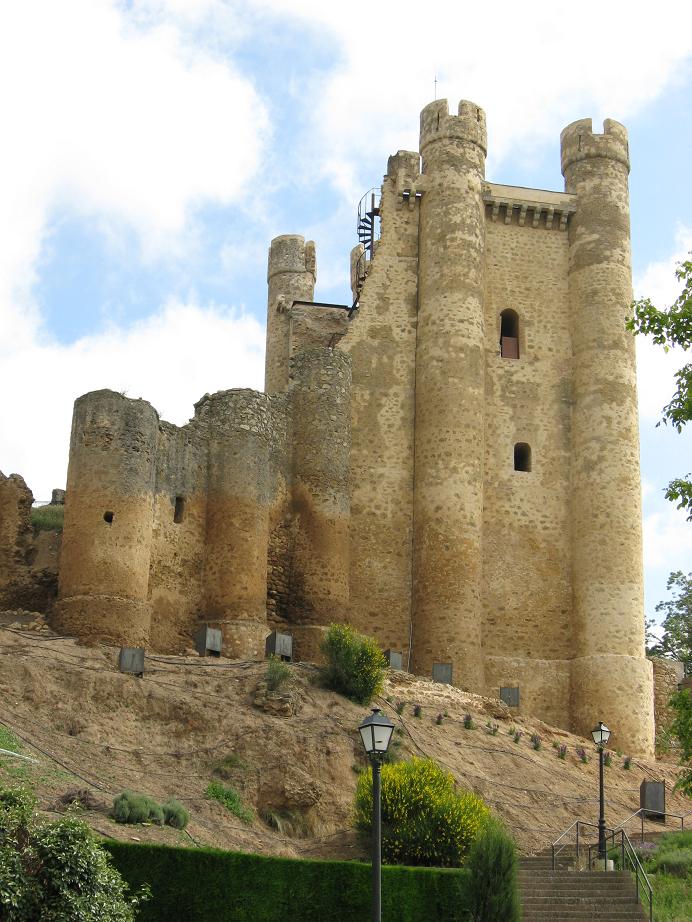
Day 3: Villamanin - León. 51.1km. Very easy route, we work our way down from Villamanin in
the Mountains to beautiful León. Mostly downhill, perfect to relax after a hard day. Beautiful
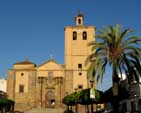
scenery. Leon is a very interesting city, check out the cathedral!


GPS route GPS track -
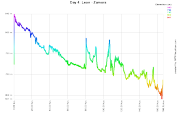
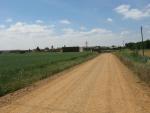
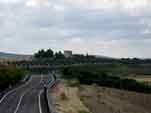
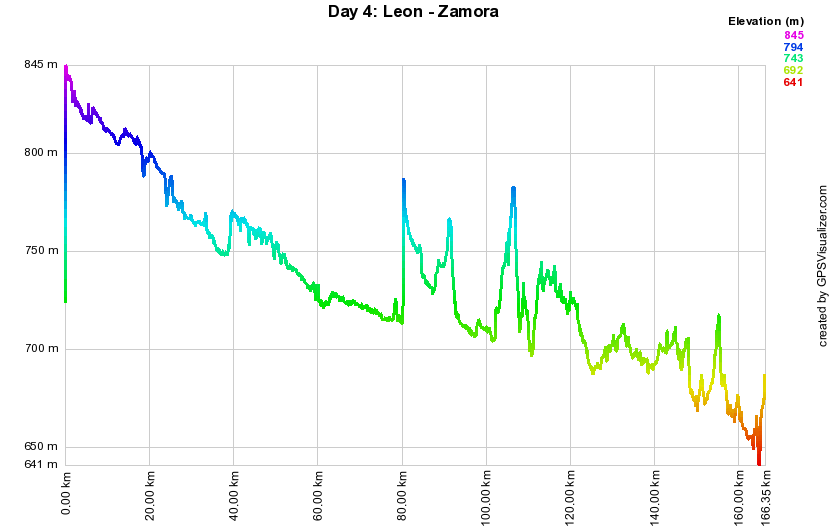
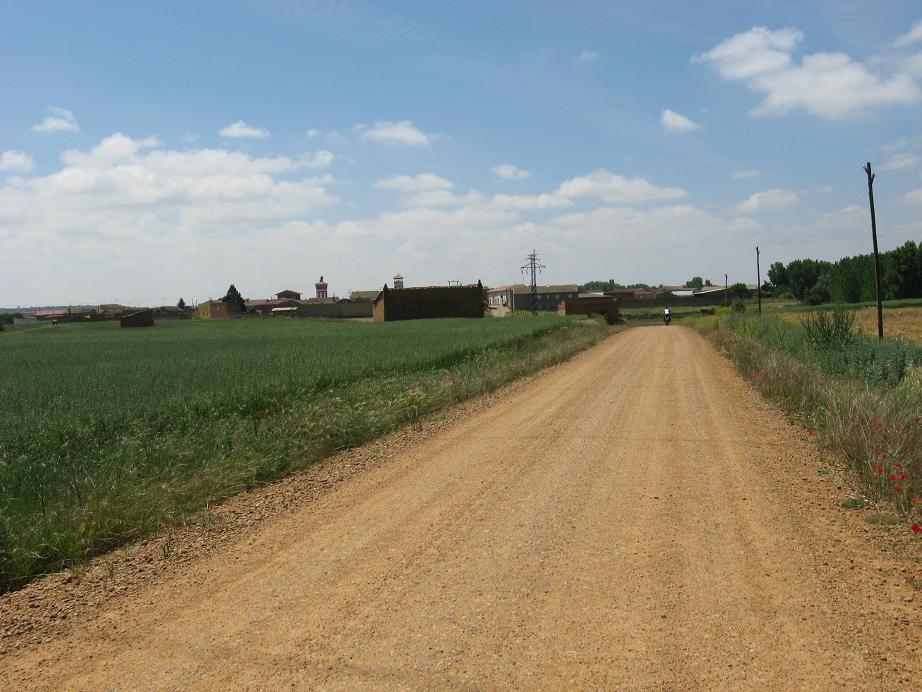
Day 4: León - Zamora. 167km. Flat and long route, originally we planned it for
two days (León - Benavente and Benavente - Zamora) but we felt strong enough to do it
in one. This route comprises small roads and passes through very small villages. There is
a more direct route on a busier road (N-630), but you get to see less of rural Spain. Beware!,
there is a strech of about 3km which is unpaved (see last picture) although in our map
it said it should be paved. This is before Benavente, between Villaomate and Villafer. It is
a dirt road made with compacted gravel and sand, rought but quite passable for any touring bike
with reasonably wide tyres.


GPS route (León - Benavente) GPS route (Benavente - Zamora) GPS track -
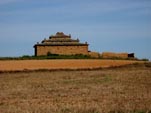
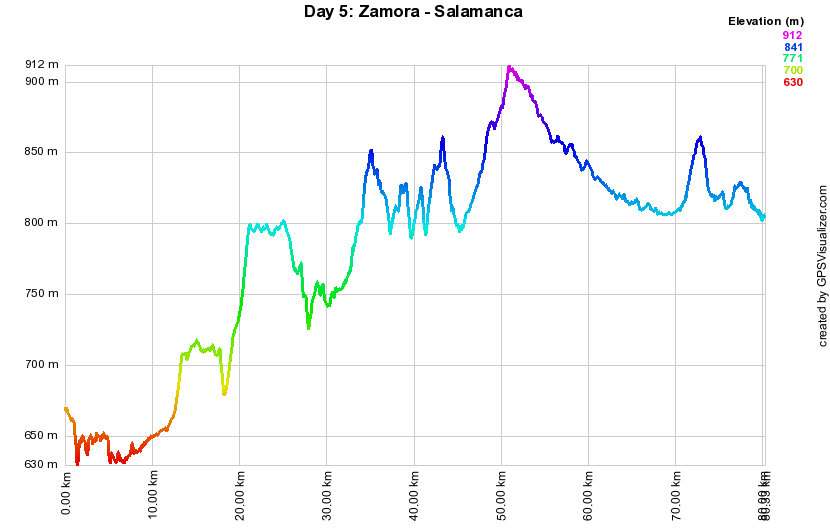
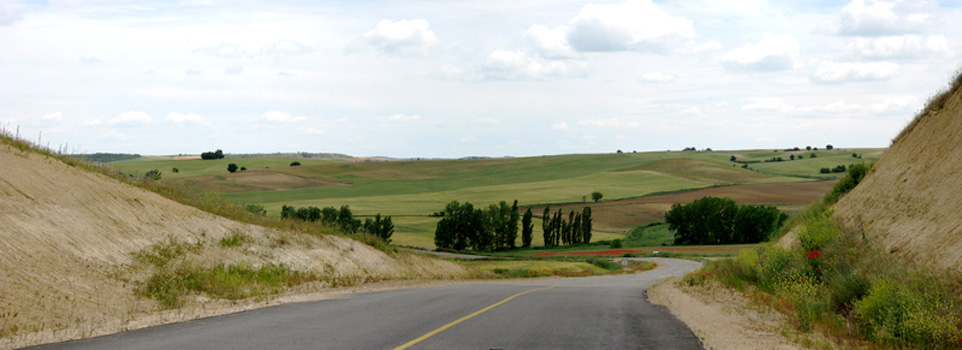
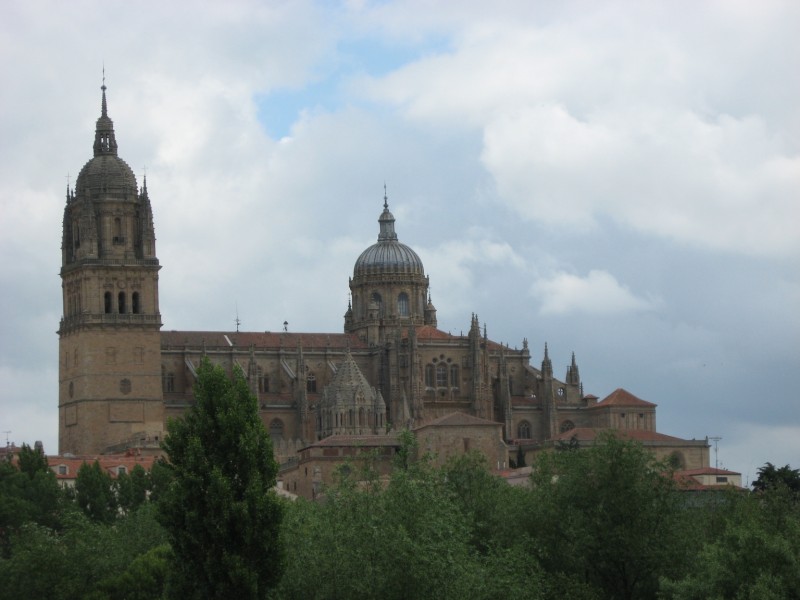
Day 5: Zamora - Salamanca. 80.4km. Beautiful scenery, but bumpy route!.
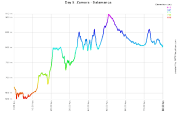
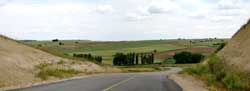
GPS route GPS track -
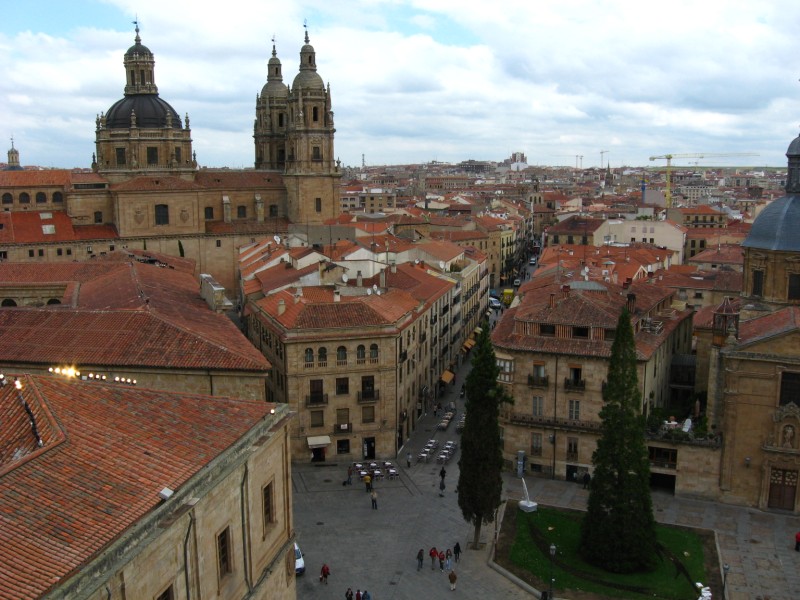
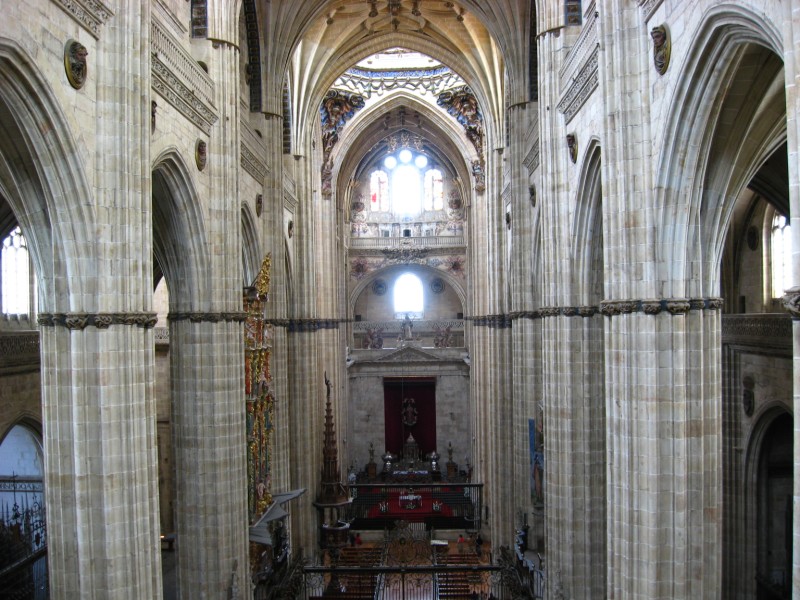
Day 6: Rest day at Salamanca. Salamanca is a very beautiful city, so we
used this day to relax and tour around.


-
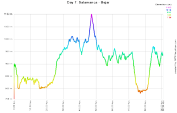
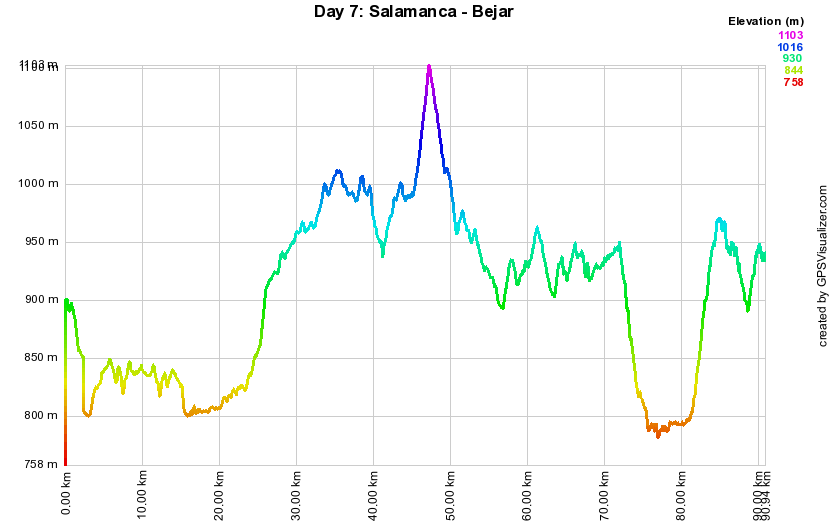
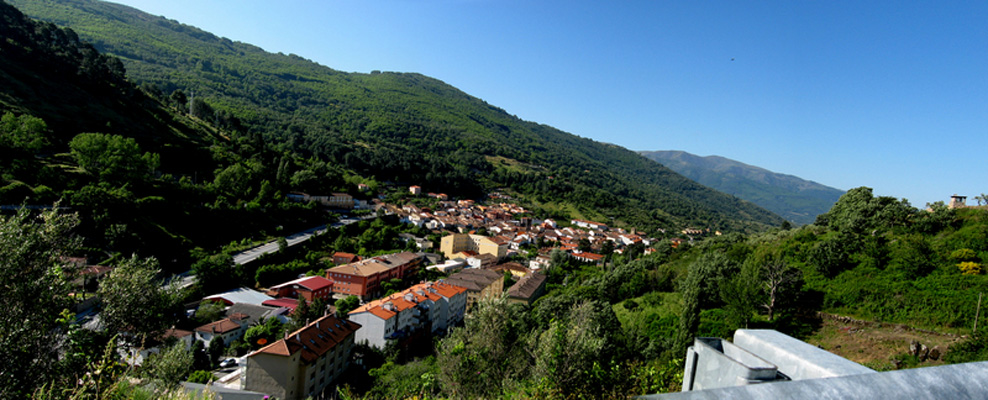
Day 7: Salamanca - Béjar. 91km (72km planned). We started the day making a detour because
of a closed road, and then a wrong turn made us end up in a different road than planned, hence the extra 20km!
This path goes through
a nice countryside area, avoiding big roads. The arrival to Béjar is bumpy but totally
worth it (great views of the city from a ridge).


GPS route GPS track -
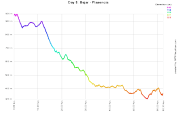
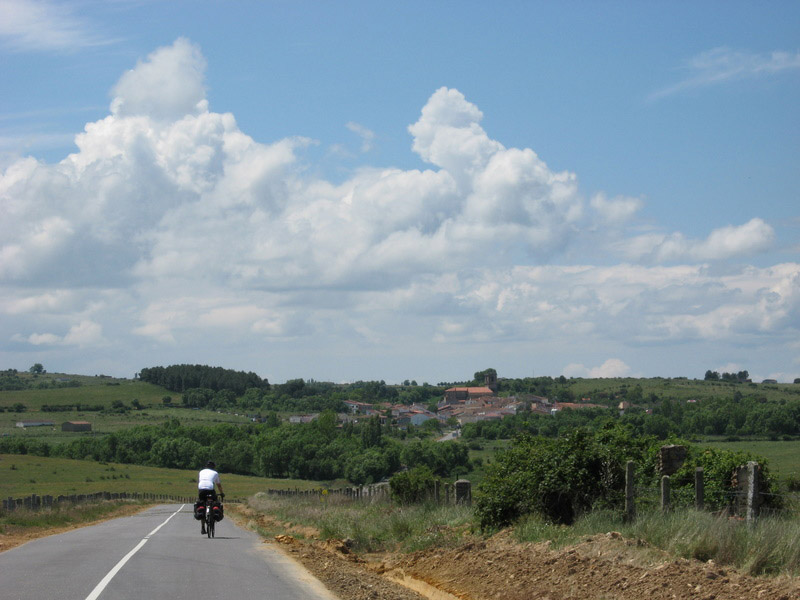
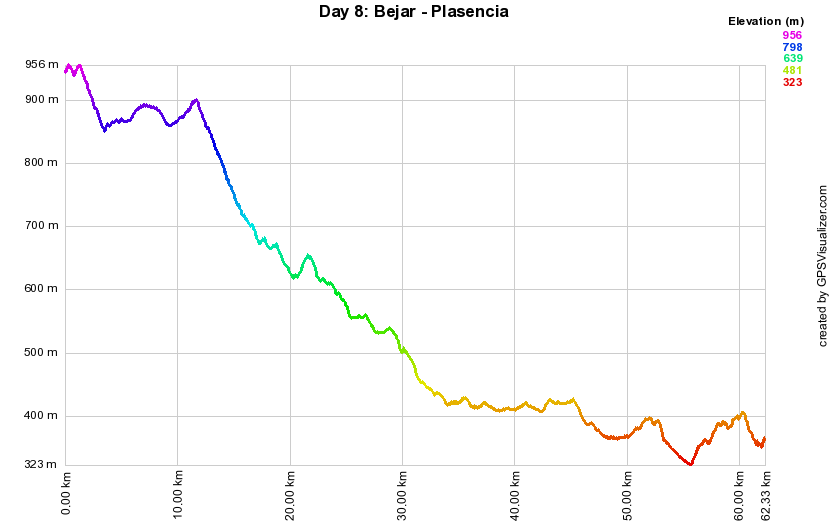
Day 8: Béjar - Plasencia. 62.4km. For this route, we planned two possibilities: a short, direct
route using an N (nationwide) road and a longer, bumpy ride that went through some small villages and mountains.
Since we were a little
bit tired from the previous day, we decided to take the short route. It turned out to be quite nice at the end!
Most of the route was downhill, the N road was pretty quiet and the scenery was quite beautiful, specially the
descent from Béjar mountains.

GPS route GPS track -
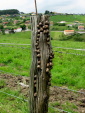
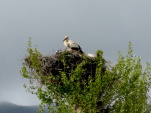
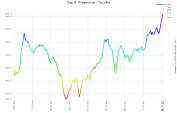
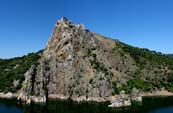
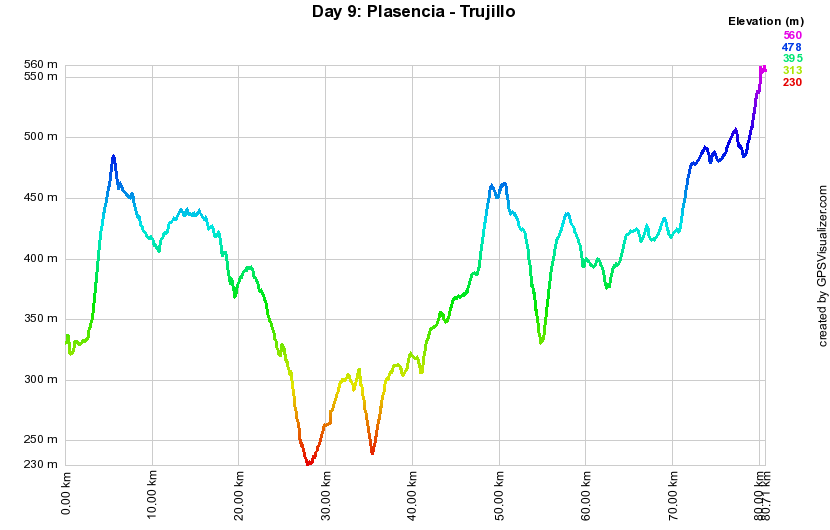
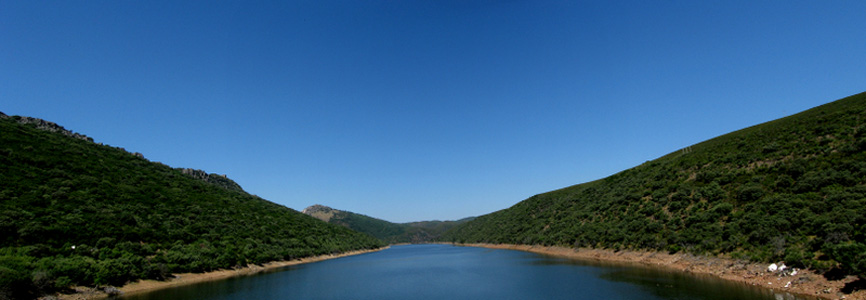
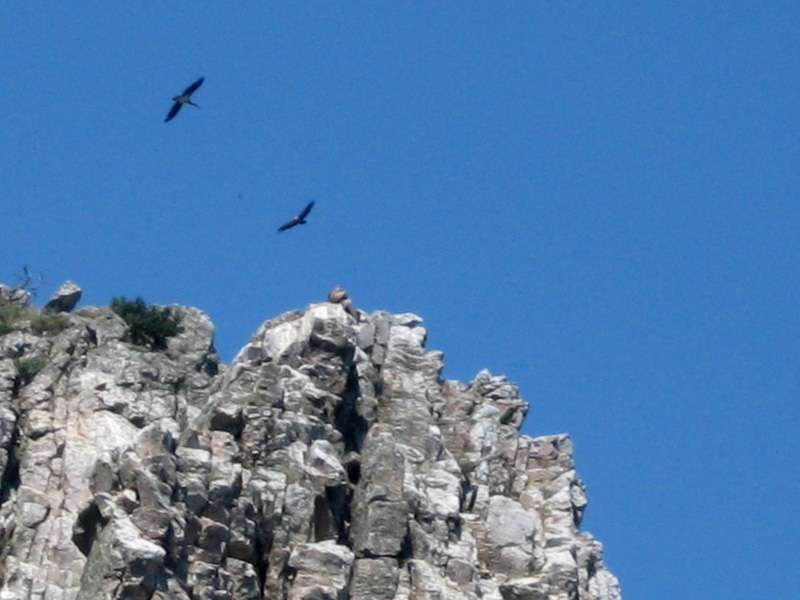
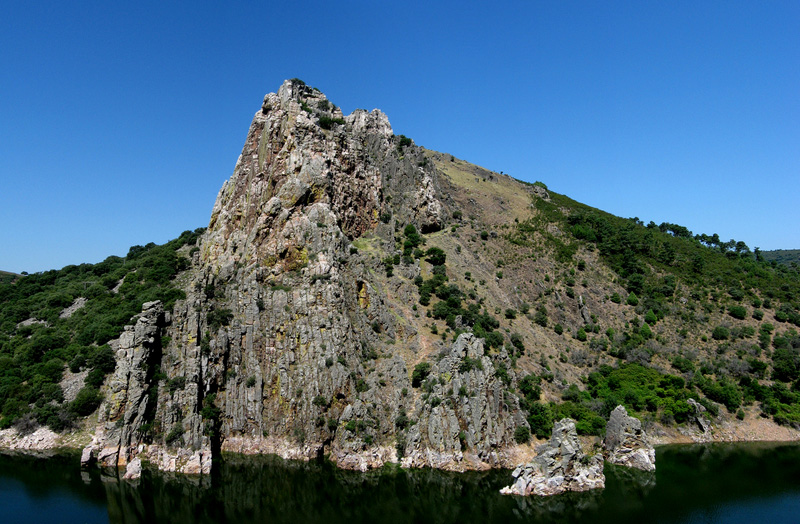
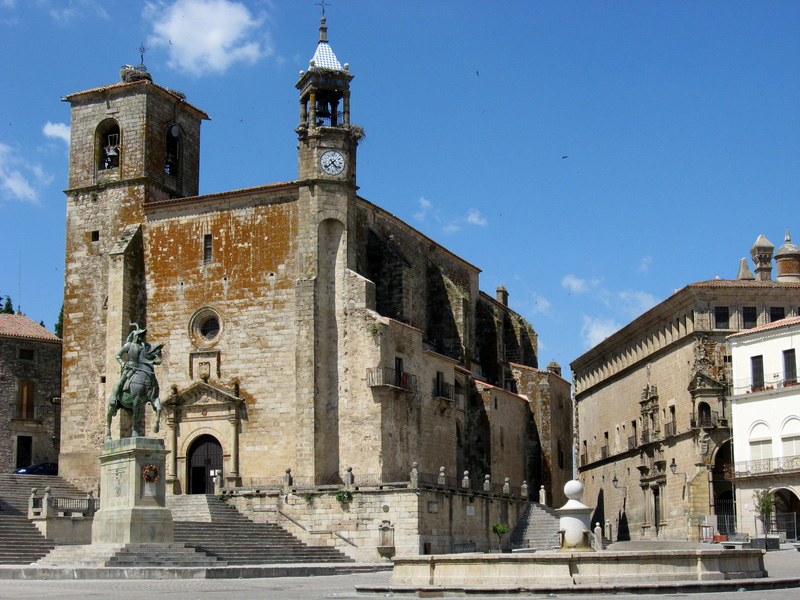
Day 9: Plasencia - Trujillo. 80.8km. We got to Trujillo across the Monfragüe National Park. This
park is well known for being the home of a very big colony of vultures and other prey birds. The route is
a little bit bumpy but OK most of the time. Beware of the intense heat if you do it in Summer!


GPS route GPS track -
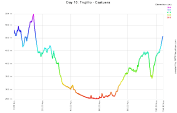
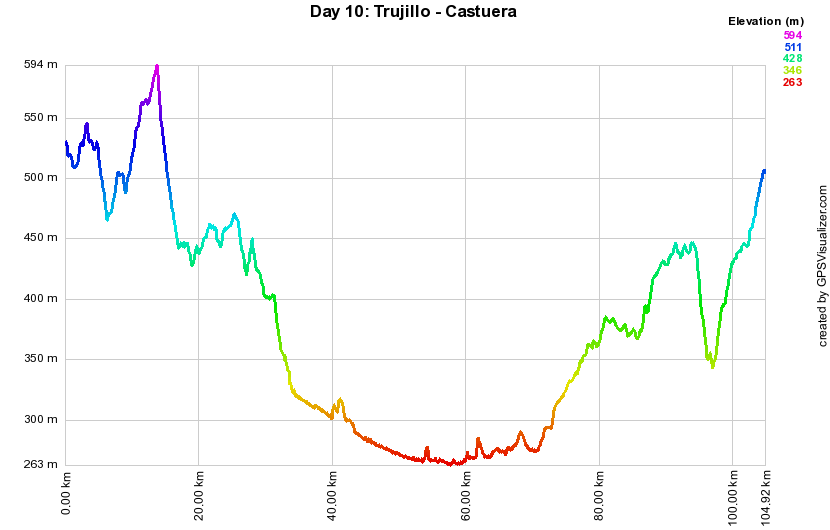
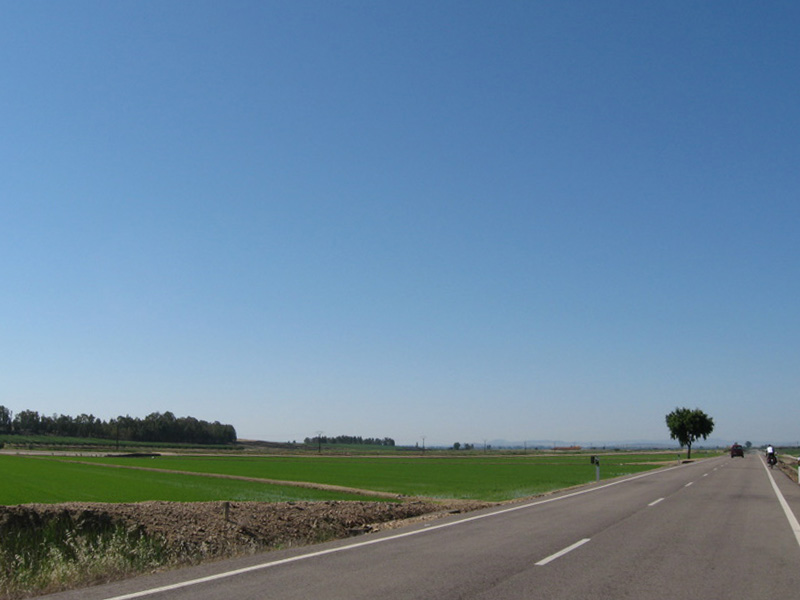
Day 10: Trujillo - Castuera. 105km. Relatively easy route. As in the rest of the days from
here, heat can be very intense in Spring or Summer. Castuera is a nice little white town, but
there is not much to do except to walk around.

GPS route GPS track -
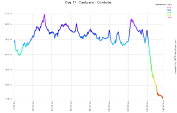
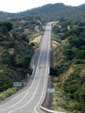
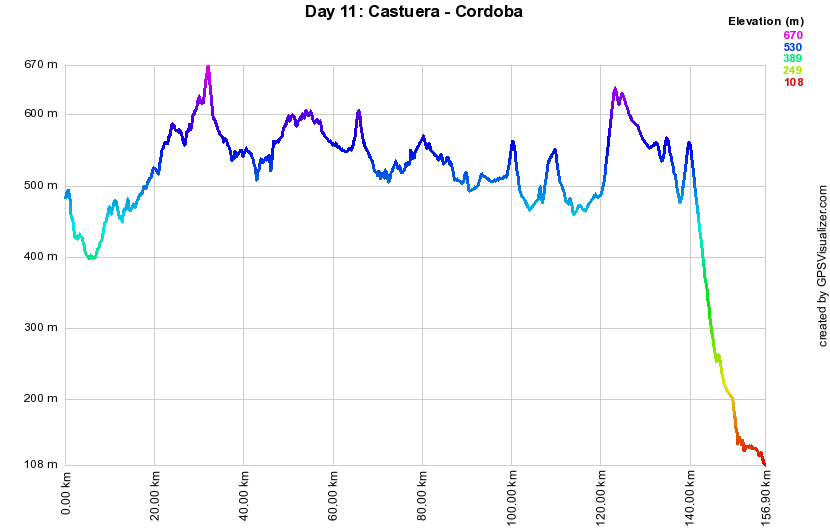
Day 11: Castuera - Cordoba. 157km. Long route, the first half or so is relatively easy,
with few steep hills and going through secondary and tertiary roads. The second half, starting
in Peñarroya-Pueblonuevo, goes through the N-432 national (primary) road. It is okay
for bikes but quite hilly, specially the last few km.
GPS route GPS track -
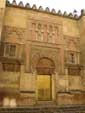
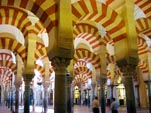
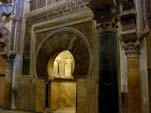
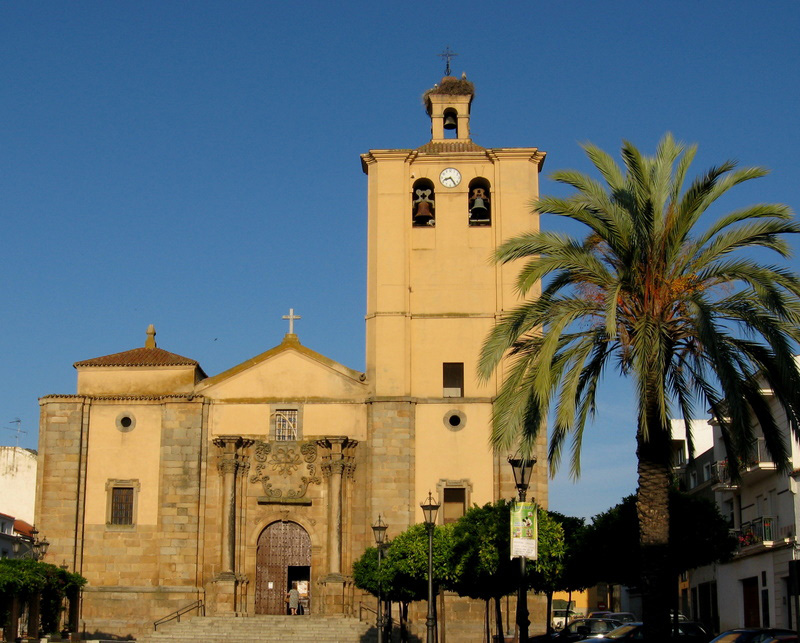
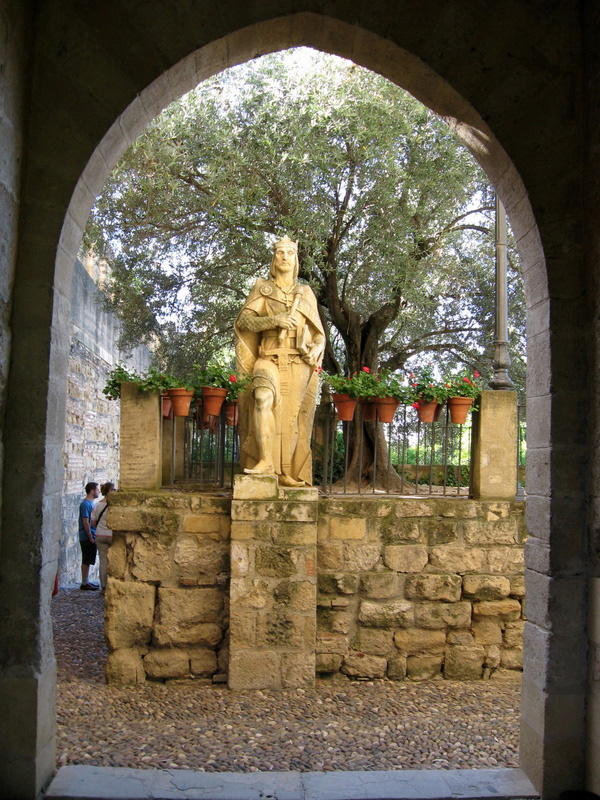
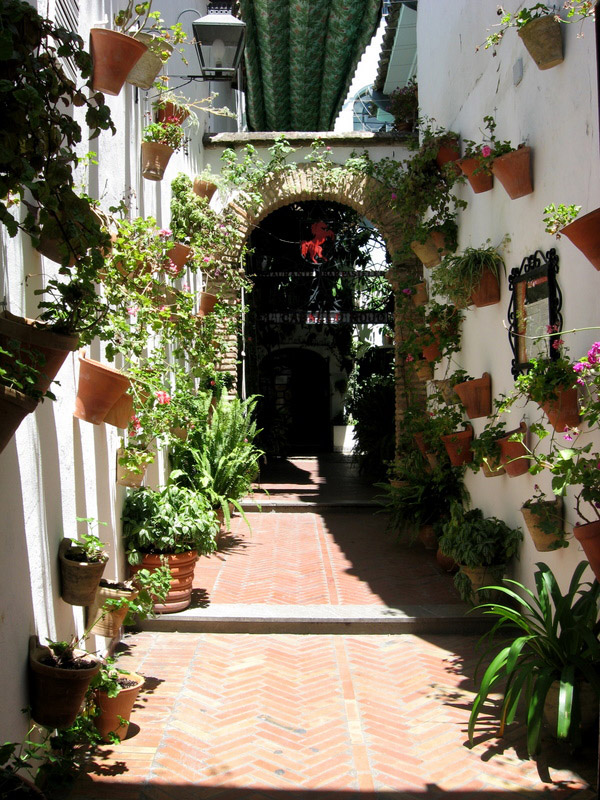
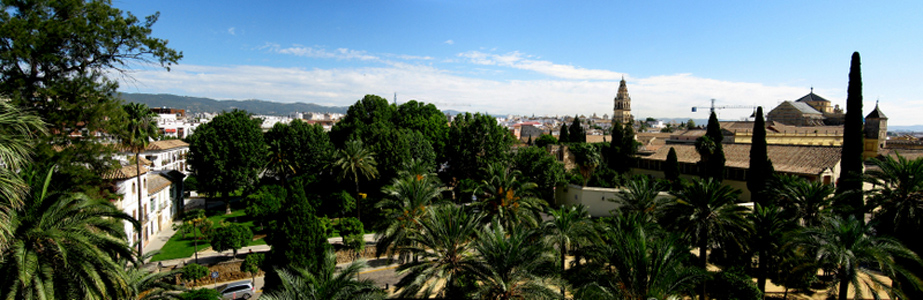
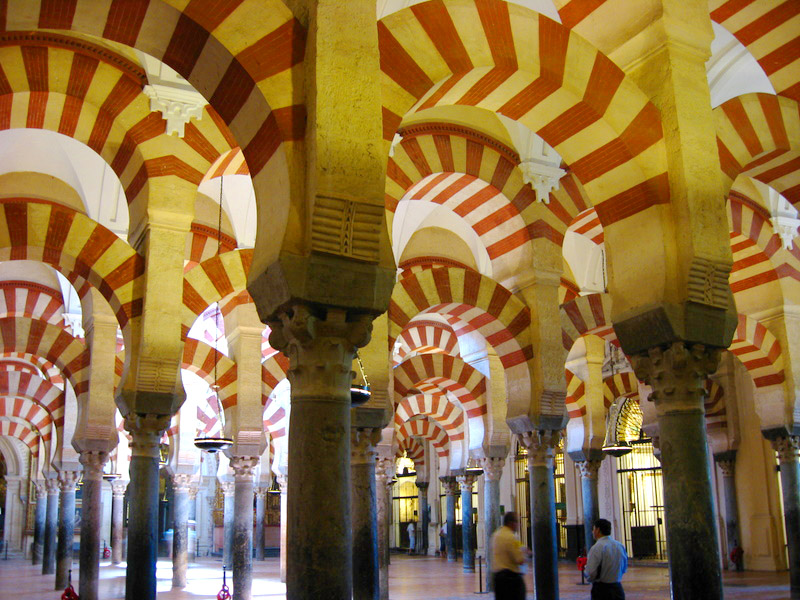
Day 12: Rest day at Cordoba. Extremely beautiful city, make sure to stay at least
one full day. And do visit the mosque!


-
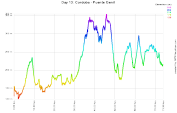
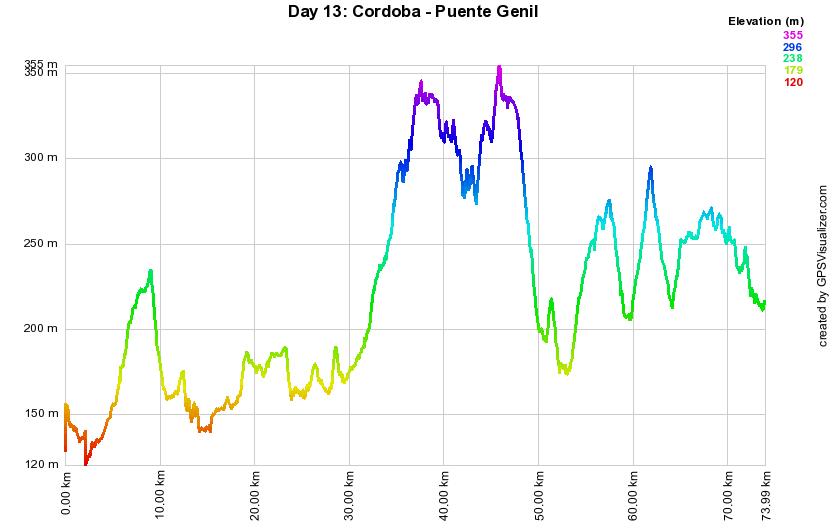
Day 13: Cordoba - Puente Genil. 74.1km. Quite bumpy route, thankfully short-ish.
Most of the time the route goes through secondary roads and small towns.
Not much to say about it, Puente Genil is unimpressive to say the least. We wanted to
go from Cordoba to Antequera in one day, but feared it might be too much at this stage
of the trip, so decided to schedule a stop at Puente Genil.
GPS route GPS track -
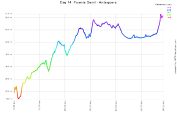
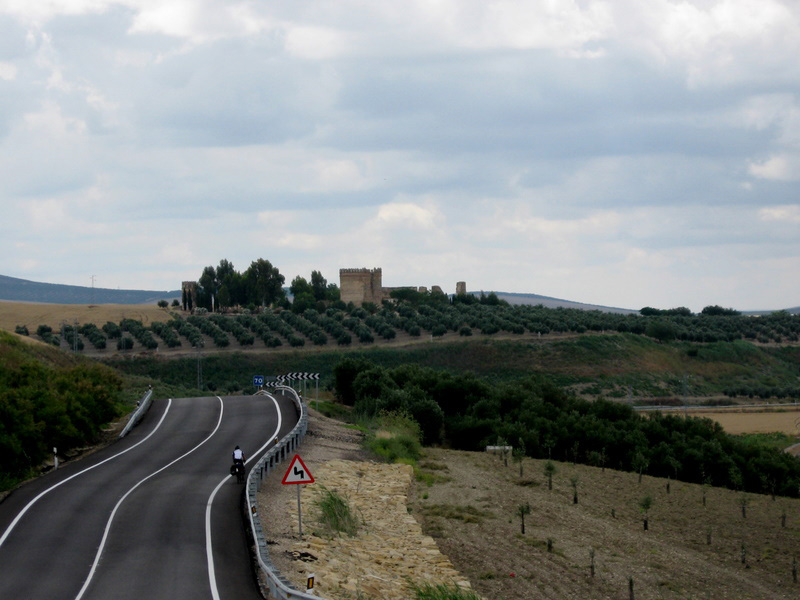
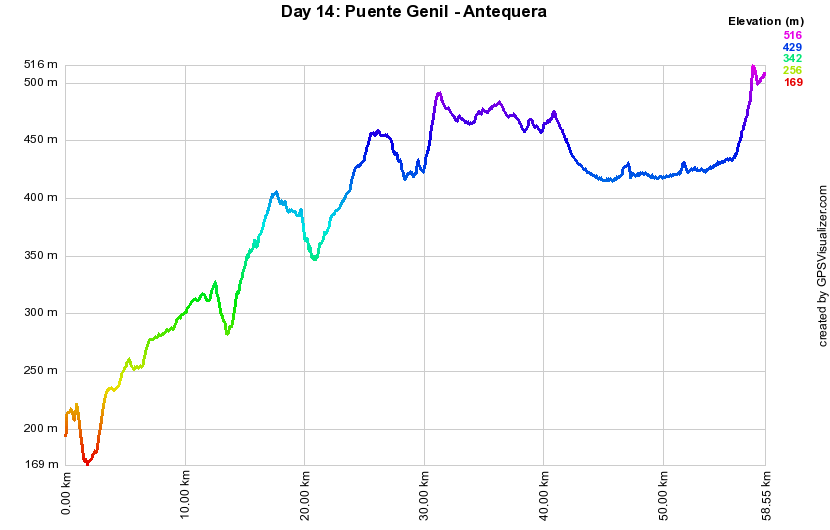
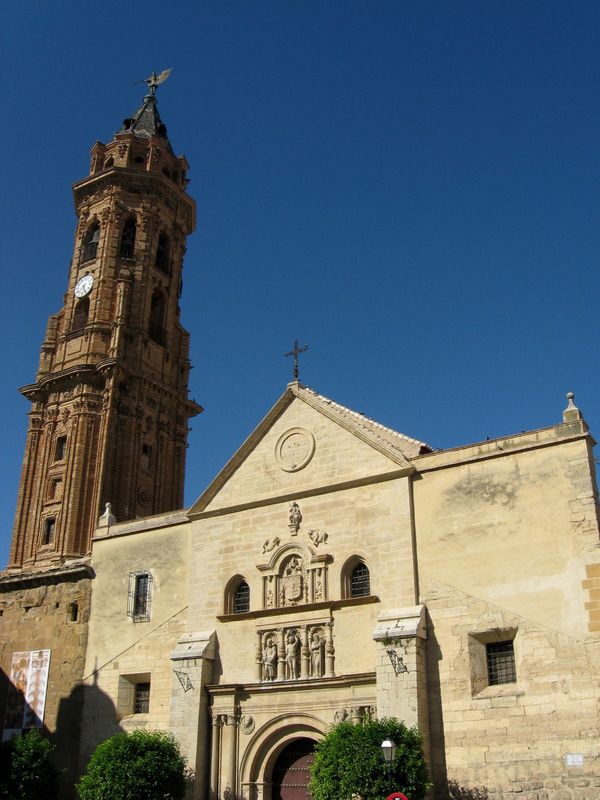
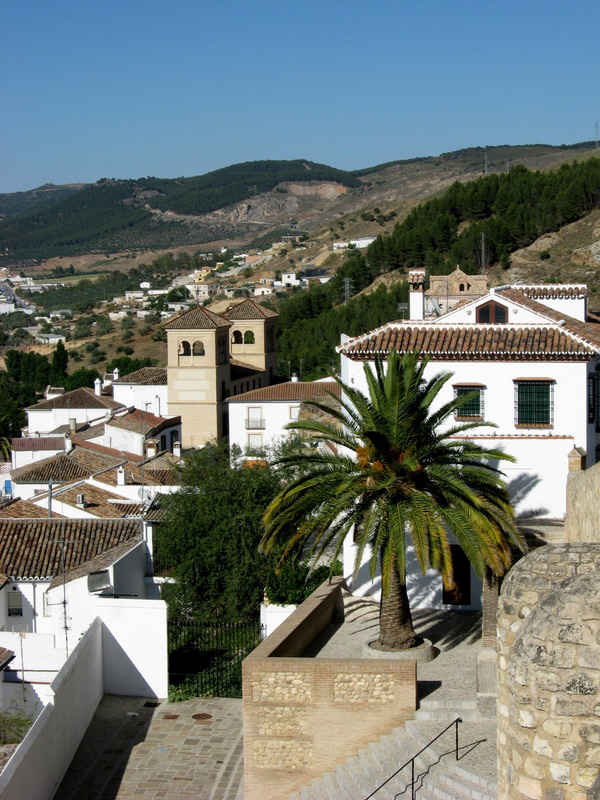
Day 14: Puente Genil - Antequera. 58.6km. Short route, but the first half is annoyingly
bumpy. The second half is pretty flat, with the exception of the climb to get to Antequera

GPS route GPS track -
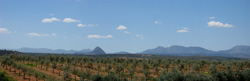
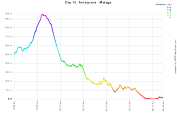
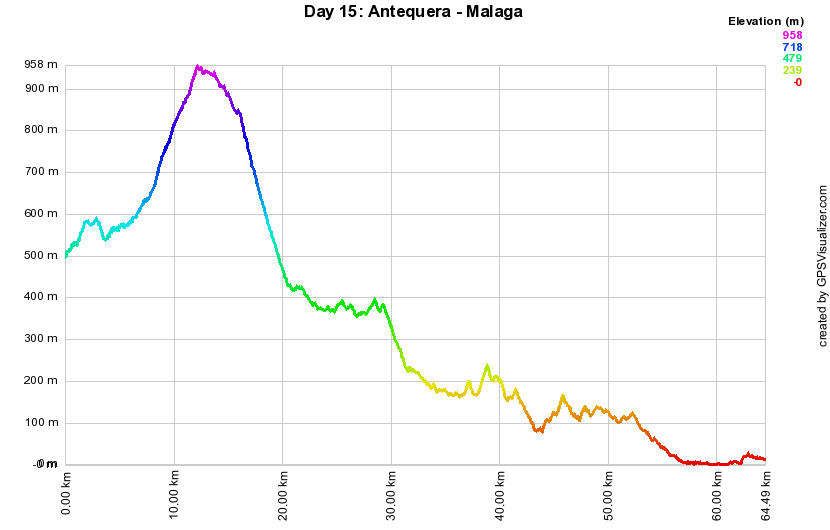
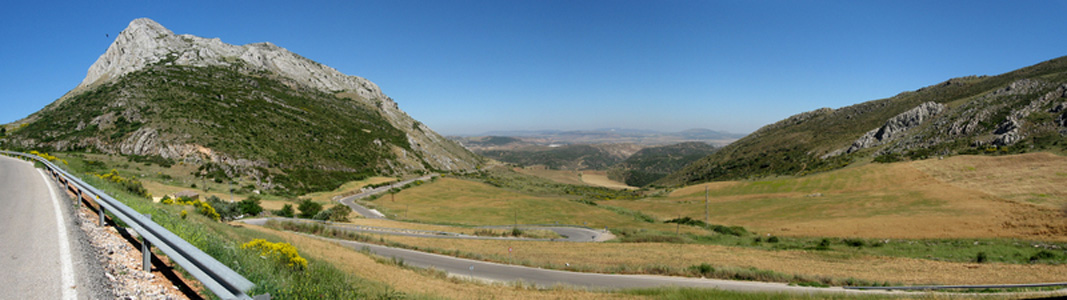
Day 15: Antequera - Málaga. 64.6km. The last leg of our route proved to be
quite a challenge. Just outside of Antequera we had to climb up the mountains surrounding
"El Torcal" nature reserve park. Beautiful
view but very tricky and bumpy! After that, the route makes its way through the mountain range
that surrounds Malaga, with quite a bit of ups and downs. Note that the route and the track GPS
files differ at some point because a new road has been built that was not in my GPS map (in
any case the difference is minimal and the new road is clearly marked).


GPS route GPS track


You can also download the whole set of routes and tracks from here (Garmin DB v3 format). Contact me if you have any questions or comments.
Luggage and equipment
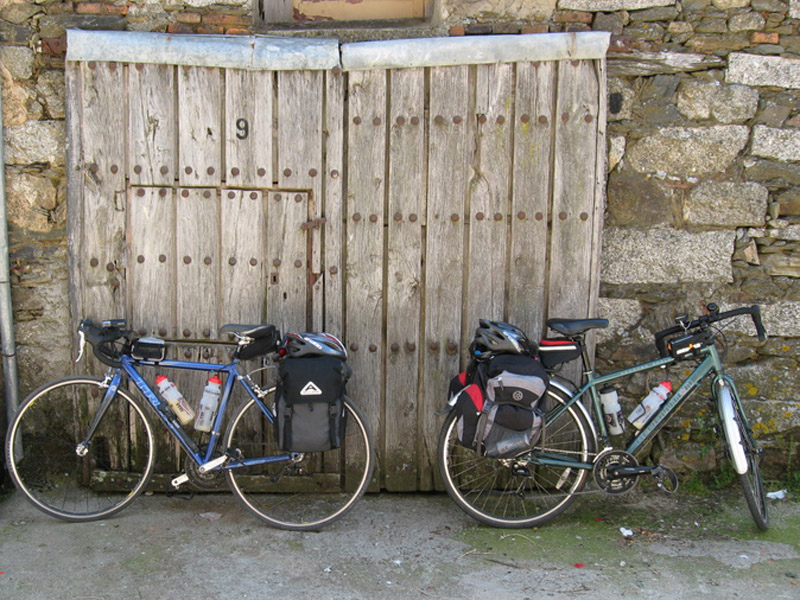
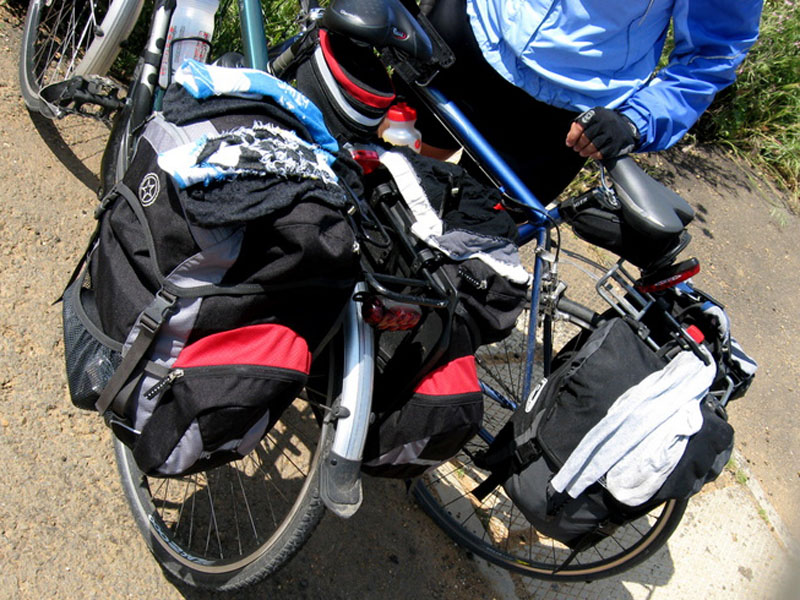
Our trip was self-planned and organized, so we didn't had any kind of support car to carry our luggage (and we didn't want to, anyway). We carried all our luggage in two pairs of standard 40L rear panniers. Therefore, weight management is crucial: we tried to strip our luggage to the bare essentials.
Clothing and accesories
Each of us carried:- 1 pair of cycling shoes
- 3 pairs of cycling socks
- A pair of cycling shorts, with padding!
- A pair of long cycling trousers
- 3 cycling tops
- 1 set of "street" clothes
- 1 pair of light sandals, for shower/street use
- 1 ultra-light raincoat
- Underwear
Obviously, with such small luggage, hand-washing of the clothes was necessary from time to time. We found out that hanging the recently washed clothes at the back of our bikes was an excellent way to dry them!
We also carried a towel and a small selection of toiletries.
Bike equipment
We carried the usual spare tubes and equipment to replace/patch puncture tubes. Amazingly enough, we didn't have a single puncture during the whole trip! We brought two mini-pumps, which while light, were just barely enough to pump the tyres.
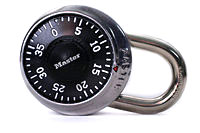
We also carried two bike locks, one of them key operated and the other one combination. The key operated lock was a Kryptonite Kryptoflex Lighted Cable Lock (left picture). Our other lock consisted on a Kryptonite Kryptoflex Cable with a dial combination padlock (center and right images).
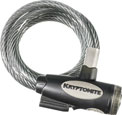
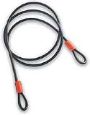
In our experience, you don't need very hefty/super-secure locks. During the night we managed to put our bikes indoors in secure places such as hotel basements or patios. During the day the risk of getting your bike stolen is smaller and we didn't leave the bikes alone for more than a couple of hours anyway.
Each of us carried two standard-sized water bottles, which proved to be just enough for the hottest parts of our journey. There are lots of shops and petrol stations around the route to refill whenever needed. We also carried a Camelbak, which was useful in the hottest parts of the journey.
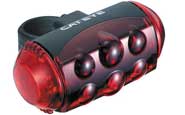
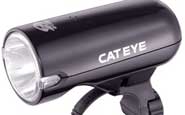
Lights are very important, not only to see but to let cars see you. I carried a Cat Eye LD1100 Opticube rear light (left picture) and a Cat Eye LED Light EL320 Opticube front light (right picture). Both of them use standard AA batteries, which is very convenient because they are easily found almost anywhere. We also carried smaller clip-on rear lights to put in the panniers in case of fog, and reflective straps.
I used my trusted Garmin Vista HCx GPS handheld unit for mapping and routing. While no GPS replaces the ability of map reading (and common sense!), they are quite handy. I used the City Navigator NT 2008 maps, which proved quite accurate (but not 100%). Also, I don't trust the on-road navigation information built in the maps, so all the routes here are point-to-point routes (following the contour of the road). That should make possible to use this routes in GPS units without mapping or map routing. The GPS unit is mounted on the handlebar using a Garmin handlebar mount accessory.
The Weather
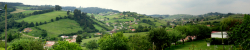
The stereotype for spanish weather is sunny skies and warm temperatures. While this is mostly true in the mid-south of the country, the weather in the north is quite different. The northern part of the country, specially the one between the central plateau and the atlantic coast, is very wet and green, resembling more a nordic country that the image most people have of Spain. Rains in this region are more common, even in summer time. While temperatures don't usually drop below 15 degrees in summer, it can get quite windy and foggy. Nonetheless, is a beatiful part of the country and well worth visiting.
In our trip, the first two days we had mostly cloudy skies, with occasional drizzle and light to moderate winds. The climb to Pajares (last part of day 2) was quite difficult because of the very thick fog at the top. It also can get quite cold at the peak, so make sure you pack some raincoats and additional layers of clothing.
The next few days, until Salamanca, we had quite good weather. The skies were occasionally cloudy but the temperature was perfect! (around 20-23 degrees celsius).
South of Salamanca the temperatures began to rise, but were mostly bearable until Plasencia. From this point on expect very high temperatures in summer, absolute dryness and little wind. The strech from Trujillo to Cordoba is specially hot because Cordoba is in a valley. From Cordoba to Malaga the weather is a little more forbidding because of the proximity of the Med, but still very hot.
In the last half of our journey we used to wake up quite early and start pedaling as soon as possible, usually 8am. This allowed us to cover quite a lot of our route until the Sun got to its highest point and the heat started to get unbearable. At that point we usually stopped for lunch and rested until 3-4pm, and then resumed our cycling.
Water and food along the route
We had little problem buying supplies along our routes. Most spanish villages, even the smallest ones, have at least a small shop or a bar where water and snacks can be bought. Also most petrol stations have a little shop for drinks and snacks. Of course bigger towns have a bigger selection of supermarkets and shops.
Each of us carried a couple of standard water bottles with us. During the hotter parts of our journey we had to stop for refilling several times, sometimes 4 or 5 times! We also found that juice makes a great source of carbs during the ride, so we usually filled one of the bottles with juice and the other with water.
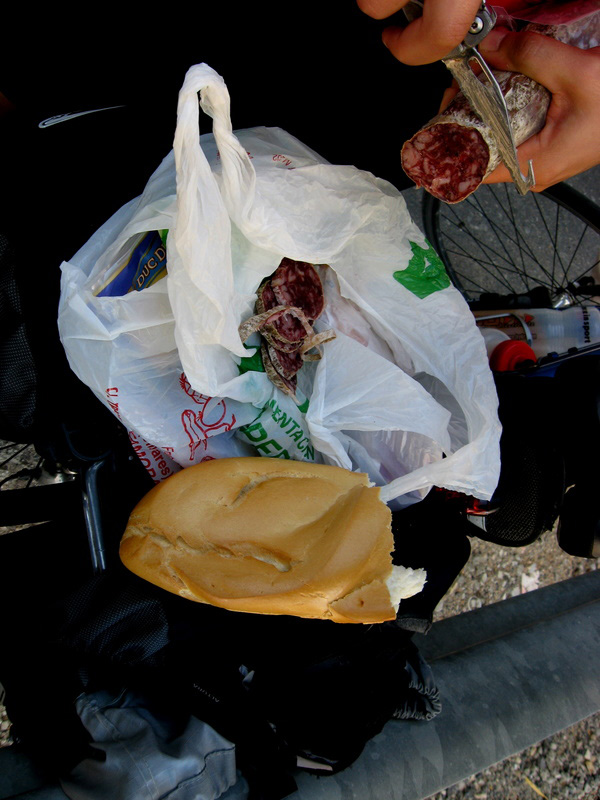
Besides snacks such as chocolate bars and fruit, we also carried with ourselves each day's lunch. We usually stopped in a shop on our way out of a city and stocked bread, cheese and ham or any cold meat we could find. I would recommend you to buy some Salchichon sausage or Jamón, specially near Salamanca or Plasencia!
Accomodation
Recommended
Here is a list of hotels and hostels along our route that we particularly liked. All of them are bike friendly.- León: Hostal Casco Antiguo. Cardenal Landázuri, 1. Excellent little hostel, situated in the old city, 50 meters from the cathedral. Very clean and comfortable rooms. Bikes are stored in a locked basement. Double room: 50 €.
- Salamanca: Hostal Concejo. Plaza de la Libertad, 1 Very clean and located in the old town, next to the Plaza Mayor. There is space for bike storage in a locked, outdoors patio but the manager let us put our bikes in the room (which was very big). The staff was very helpful and friendly. Double room: 56 €.
- Plasencia: Parador de Plasencia. Plaza San Vicente Ferrer s/n. Read about the Paradores net of hotels here. This 4* hotel is located on an old monastery in the old town of Plasencia. The rooms are big and the whole place preserves the feeling and the looks of the monastery. Even if you are not staying there for the night, it is worth a look (most parts of the hotel are open to non-guests and tourists). Price depends on the season and any special offers you might find in the Internet. We payed 100€ for the night.
- Córdoba: Hotel González. Manríquez, 3 . Somewhat small room, but very conveniently situated in the old historic town. Bikes are stored in an indoor patio, accessible only from the hotel reception. Friendly staff. Double room: 49 € (but varies depending on the month of the year, check the web).
Cheap and nice
- Villamanin: Albergue Villamanin. Tlf: 987598243. This is a youth hostel located near the town hall, in the village centre. Around 8 € per person per night. Villamanin and the area around it is mostly a winter destination, so it's usually deserted in summer. When we were there we got the whole place for ourselves. Bikes are stored indoors.
- Castuera: Hotel Restaurante Paraiso II. Habas, 9. Very cheap and clean, air conditioned rooms. Very friendly staff and decent restaurant. Bikes are stored in a garage. Double room: 30 €.